Flutter, the open-source UI toolkit developed by Google, has gained widespread popularity for building natively compiled applications for mobile, web, and desktop from a single codebase. If you are a Windows user and eager to dive into Flutter development, this guide will walk you through the installation process.
Step 1: Navigate to Flutter Website
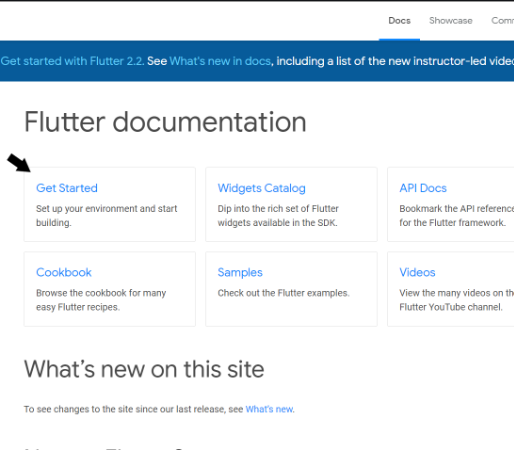
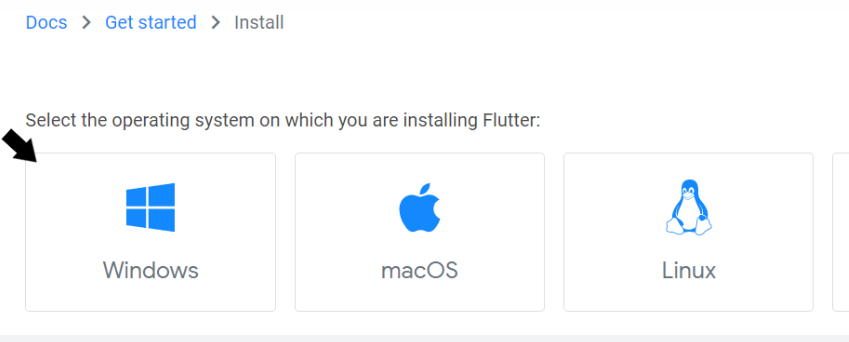
Visit the official Flutter website by going to flutter.dev. In the top menu bar, select “Docs” > “Get Started” > “Install” > “Windows.”
Step 2: Check System Requirements
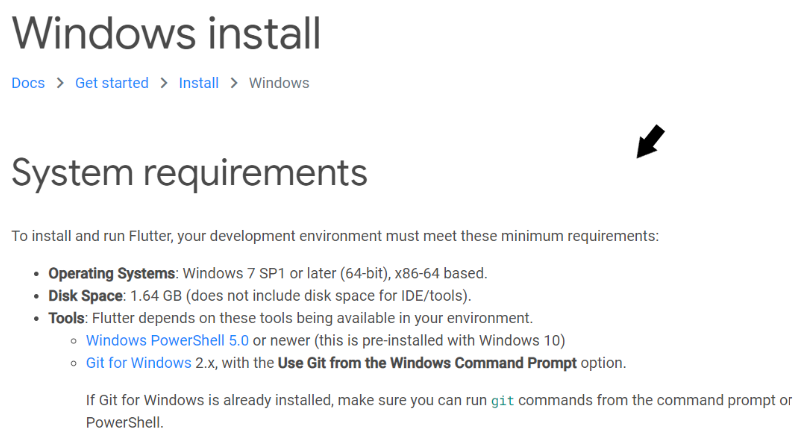
Before starting the installation, ensure that your system meets the necessary requirements. This may include installing the latest versions of Windows PowerShell and Git for Windows if not already installed.
Step 3: Download and Extract Flutter SDK

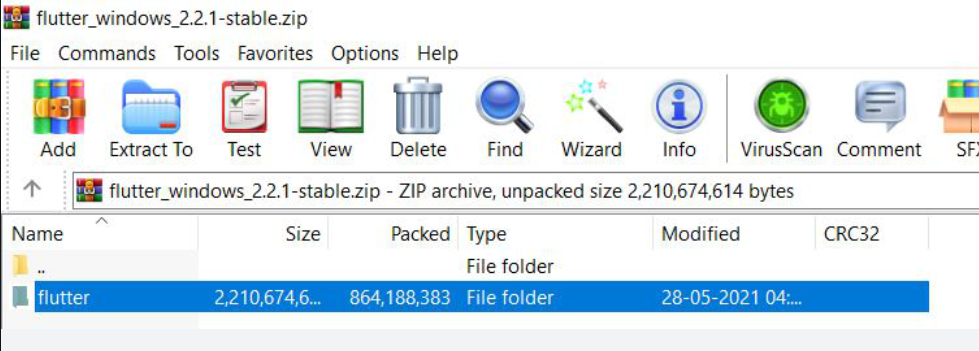
- Download the latest version of Flutter SDK by clicking on the provided link.
- Once downloaded, extract the zip file to a directory where you have read and write access. It’s recommended to create a new folder in a separate directory, such as “D:\development\flutter.”
Step 4: Set Up Flutter Console
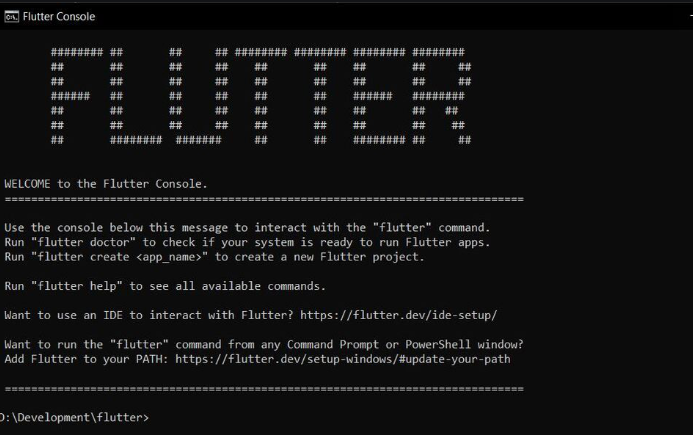
- Inside the extracted Flutter folder, locate the
flutter_console.batfile. - Double-click on
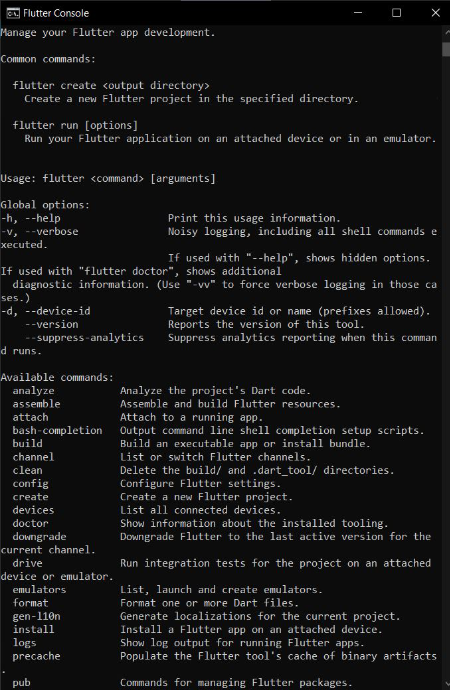
flutter_console.batto open a command prompt window specific to Flutter. - Type
flutterin the console to view a list of available Flutter commands.
Step 5: Update Environment Variables
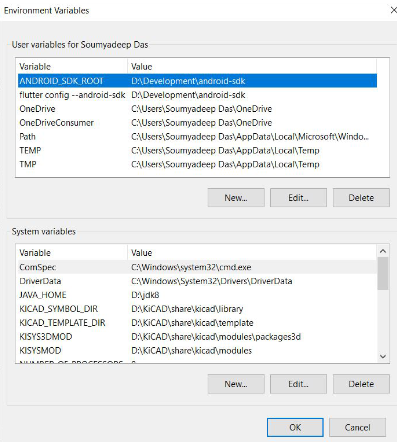
- Open the System Environment Variables by going to Control Panel > System and Security > System > Advanced System Settings > Environment Variables.
- Under the User Variables list, check for the
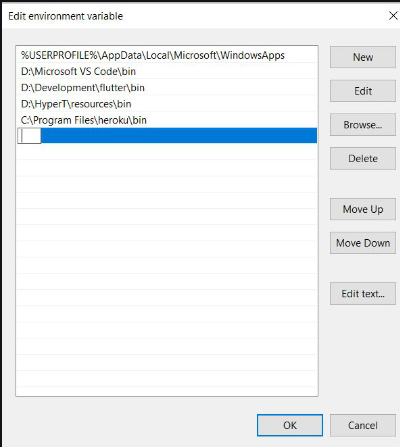
Pathvariable. If not present, create a new variable and set its value to theflutter\bindirectory. - Double-click on the
Pathvariable and add a new entry with the full path to theflutter\binfolder. - Click “OK” to save the changes. Close any existing Command Prompt or PowerShell windows.
Step 6: Set Up Android Tools and Emulator
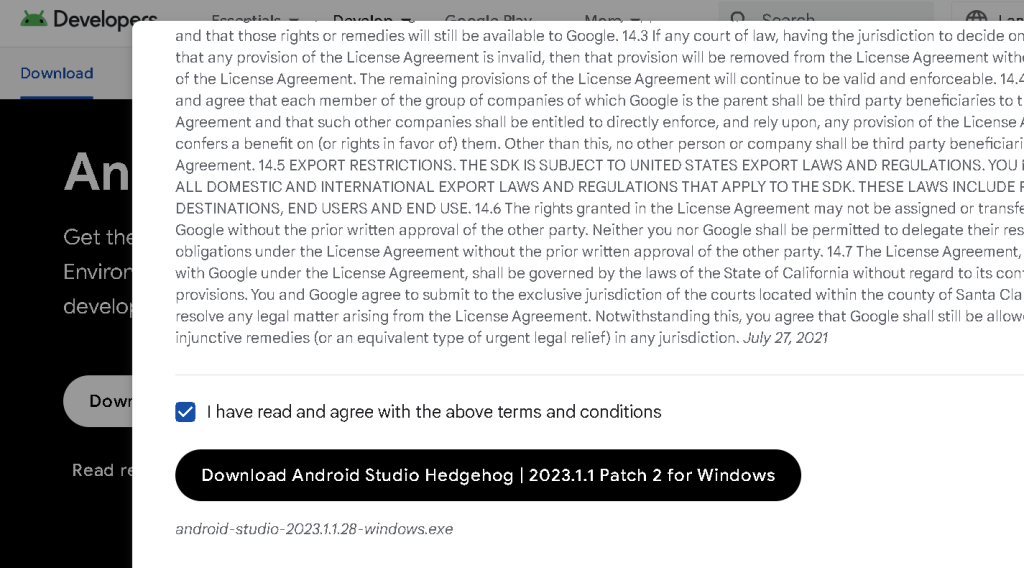
- Download and install Android Studio.
- Follow the installation instructions for Android Studio on the official page.
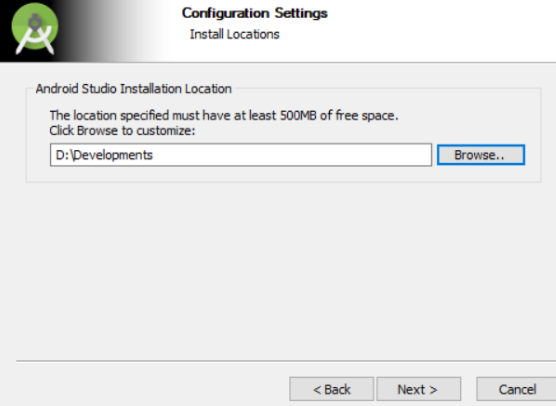
- Choose the installation directory and click ‘Install.’
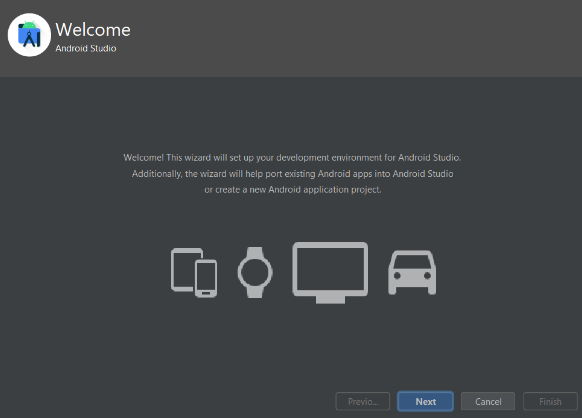
- Check ‘Launch Android Studio’ and click ‘Finish.’
- On Android Studio’s home screen, click Next > Custom > Next.
- Keep the default Java Development Kit location and choose your preferred UI appearance. Click ‘Next.’
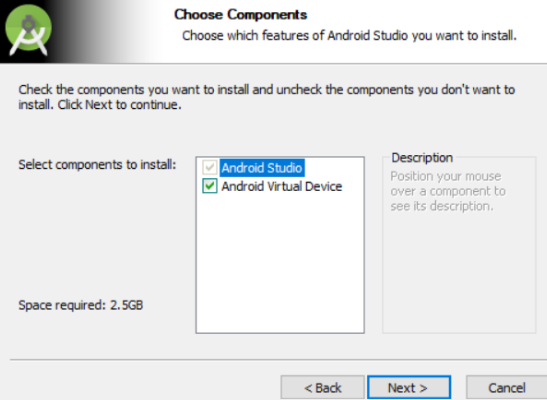
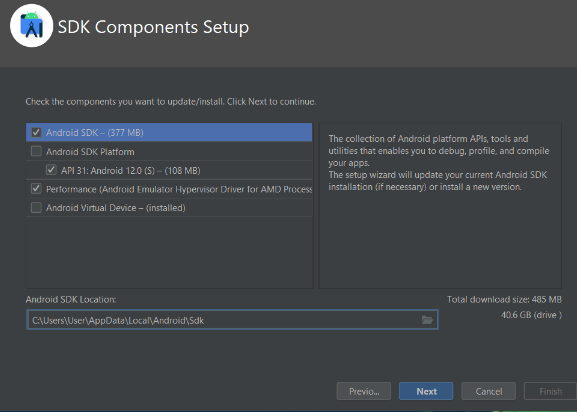
- In the SDK Components Setup, check the required boxes and click ‘Next.’
- Set your desired folder for Android SDK and click ‘Finish.’
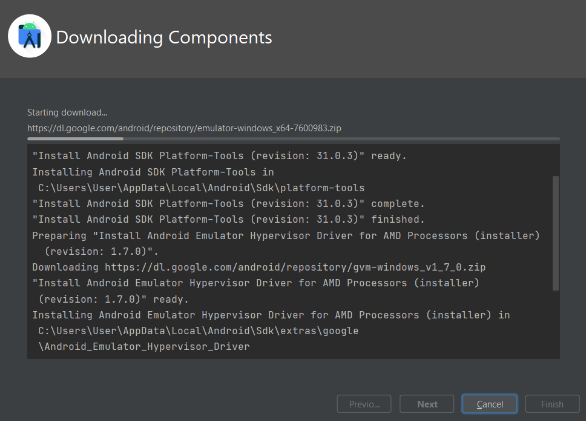
- Android Studio will install necessary tools; wait for the process to complete.
Step 7: Set Up Flutter SDK Environment Variables
- Open Command Prompt and run
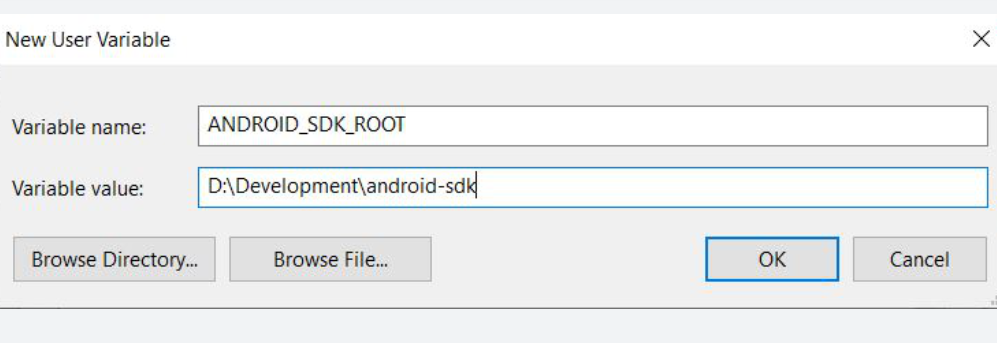
flutter doctor. - If the Android SDK is not detected, set it as an environment variable.
- Go to environment variables, click ‘New,’ and add the SDK’s path.
Step 8: Accept Android Licenses
flutter doctor --android-licenses- Run
flutter doctor --android-licensesin Command Prompt. - Accept all licenses when prompted by typing ‘y.’
Step 9: Set Up Android Emulator
For Android Device:
- Refer to the official documentation for connecting a real Android device.
For Android Emulator:
- Open Android Studio and go to Tools > SDK Manager.
- Check for the latest SDK version and install if necessary.
- Under the ‘SDK Tools’ tab, select Google USB Driver and click ‘Apply.’
- Allow the SDK installation to complete.
Step 10: Create Virtual Device (Emulator)
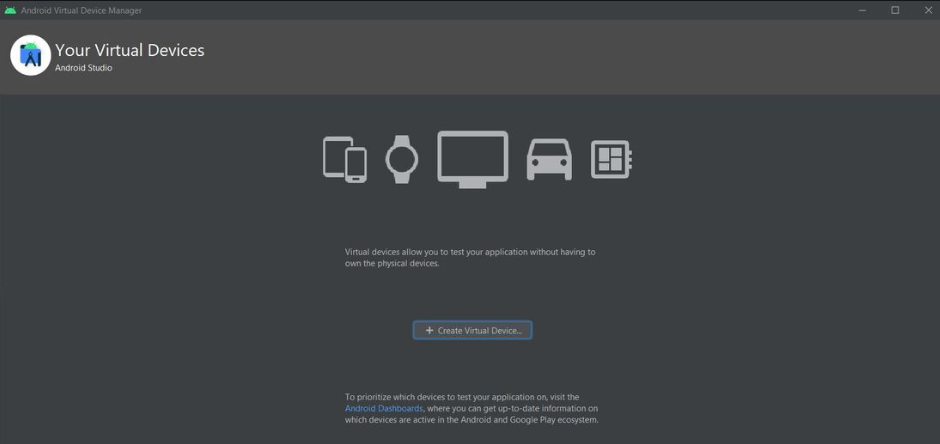
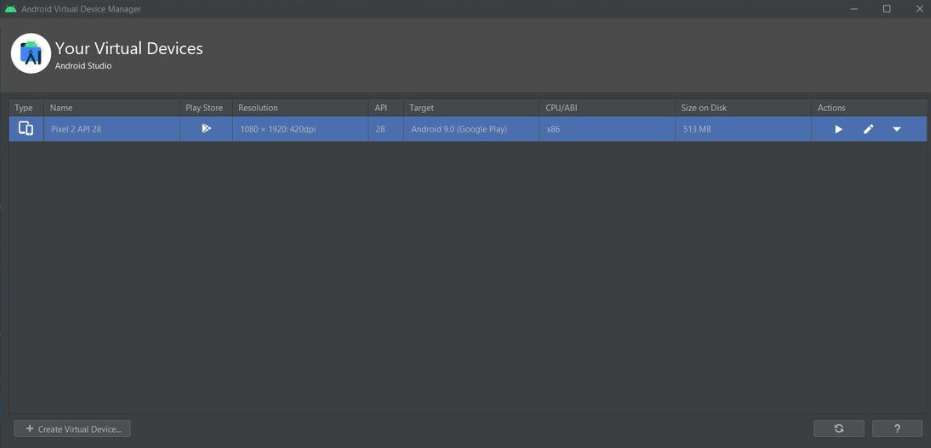
- Open Android Studio, go to Tools > AVD Manager.
- Click ‘Create Virtual Device,’ choose a device, dimensions, and system image.
- Click ‘Finish’ and then click the ‘▶’ button to launch the emulator.