MOTOSHARE 🚗🏍️
Turning Idle Vehicles into Shared Rides & Earnings

From Idle to Income. From Parked to Purpose.
Earn by Sharing, Ride by Renting.
Where Owners Earn, Riders Move.
Owners Earn. Riders Move. Motoshare Connects.

With Motoshare, every parked vehicle finds a purpose. Owners earn. Renters ride.
🚀 Everyone wins.

Start Your Journey with Motoshare

How to install android studio

To install Android Studio, follow these steps:

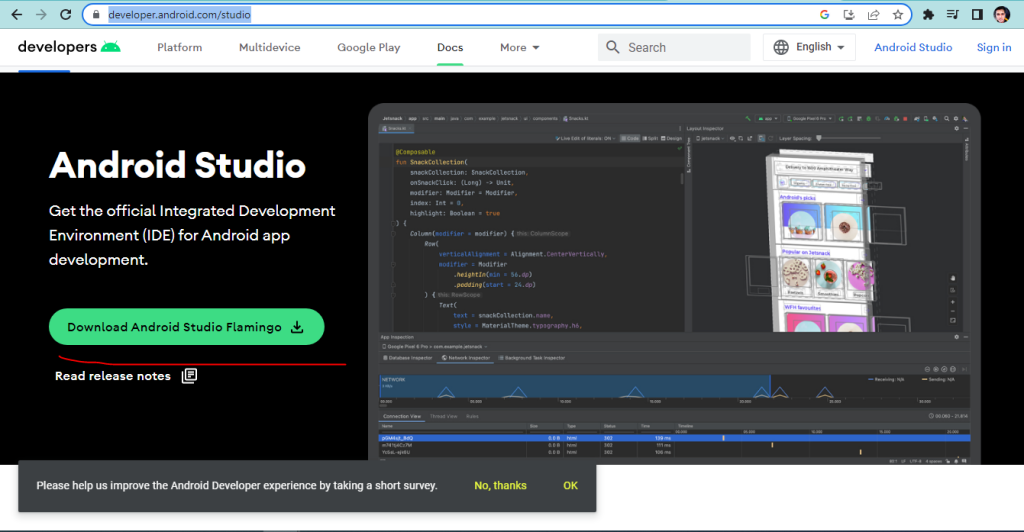
  • Visit the official Android Studio website at https://developer.android.com/studio.
  • Click on the “Download Android Studio” button.
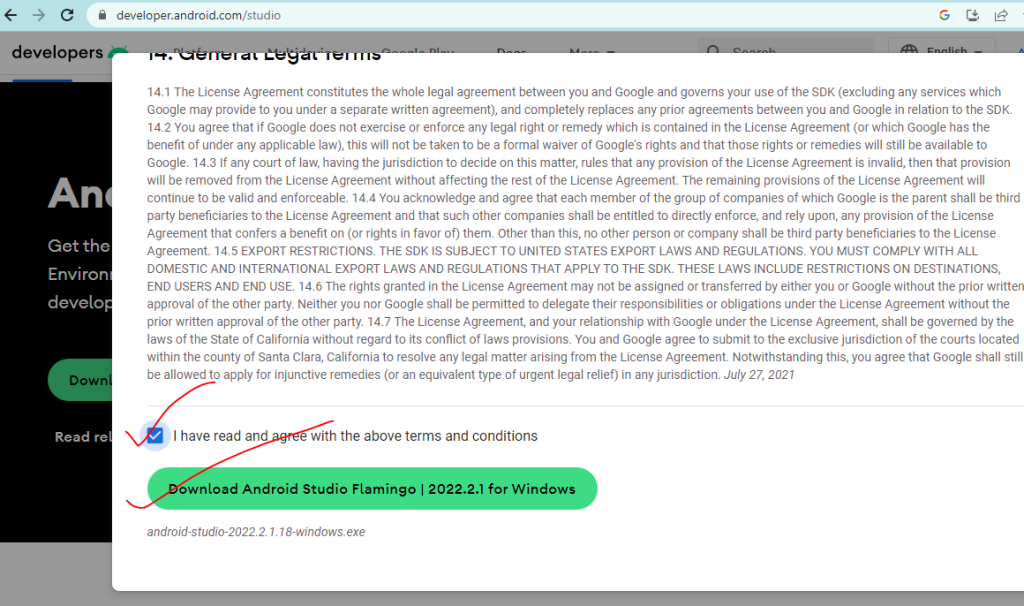
  • Choose the appropriate version for your operating system (Windows, macOS, or Linux).
  • Accept the terms and conditions.
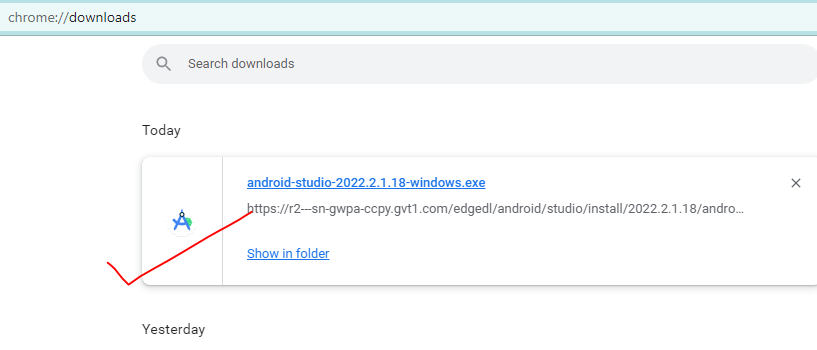
  • Once the download is complete, run the installer executable file.
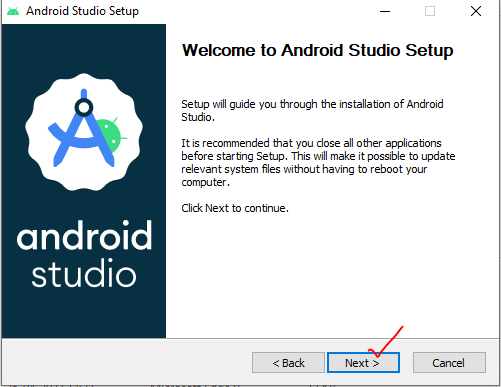
  • Follow the on-screen instructions to proceed with the installation.
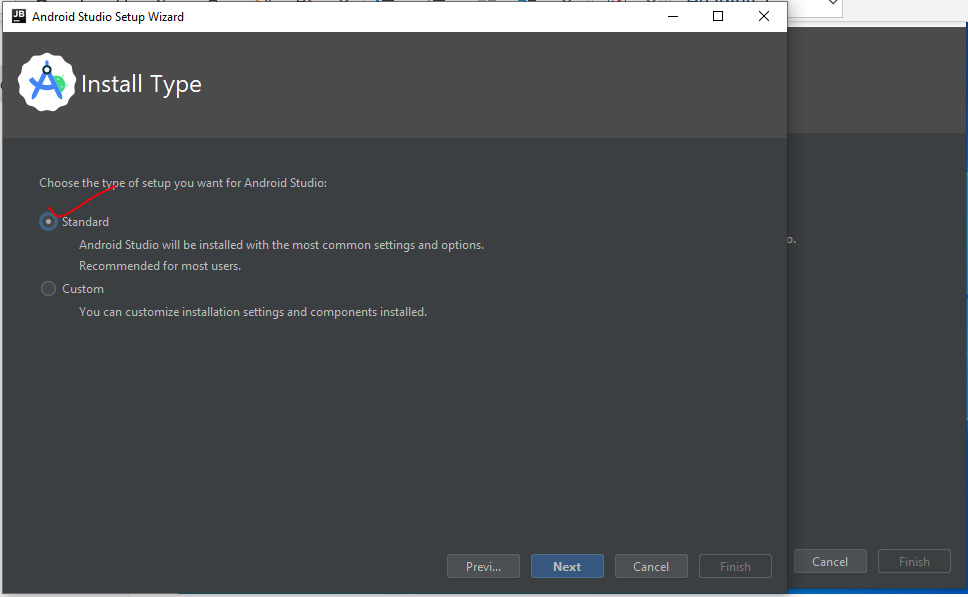
  • When prompted, select the “Standard” installation type unless you have specific requirements.
  • Click “Next” to continue.
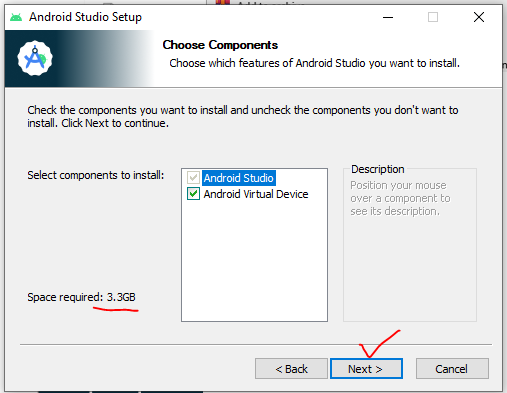
  • The installer will display a list of components to install.
  • Leave the default components selected, as they include essential tools for Android development.
  • Optionally, you can install additional components or modify the installation location.
  • Click “Next” to proceed.
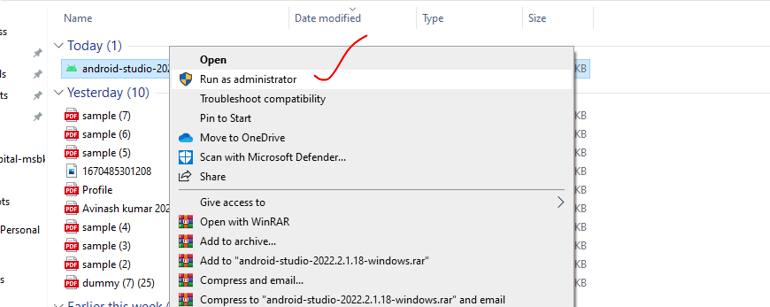
  • Right click on your downloaded file and Run as administrator
  • Android Studio includes the Android Virtual Device (AVD) Manager for running and testing Android apps on virtual devices.
  • Check the box to install the AVD and select the desired system image to be used for emulation.
  • Click “Next” to continue.

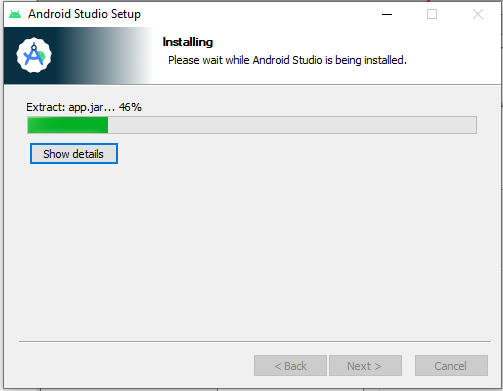
Now wait for complete installation

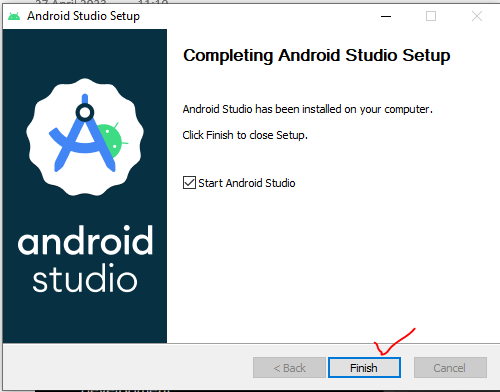
Here your setup is Finish Now you can move to your installed Android studio

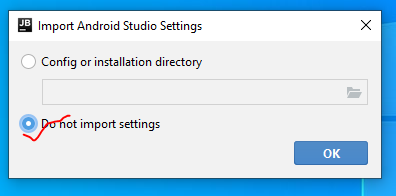
If you want to Config installation directory then select “Config or installation directory” option.

Otherwise you can select” Do not import settings”.

You have two options to choose install type “standard” and “Custom” in standard studio will be installed with common settings and options.

And, In Custom you can customize installation setting.

Most users recommended option is “Standard” .

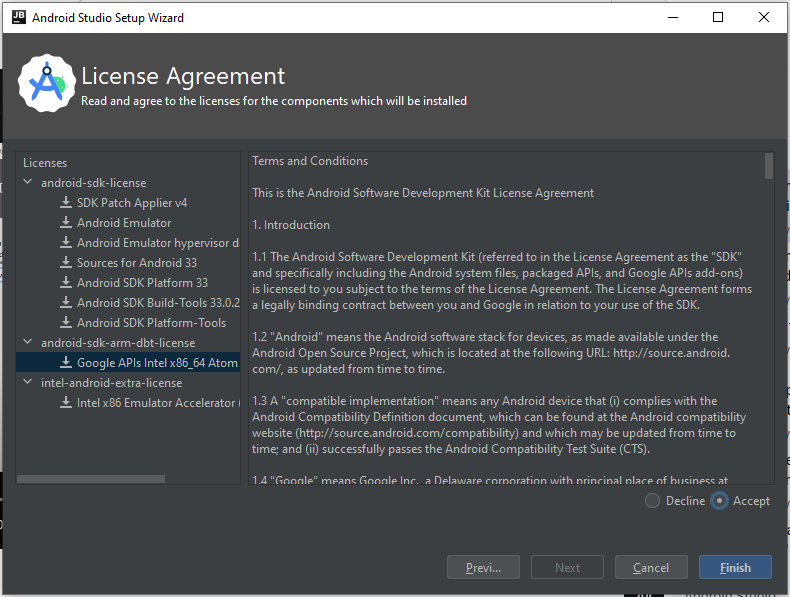
Carefully read License Agreement and then Accept  terms and conditions.

Now, your studio is ready.

Related Posts

How to Import an SQL File Through Command Line

Importing an SQL file through the command line is a useful skill when working with MySQL databases. Whether you’re migrating data, setting up a fresh database, or…

Understanding Network Protocols and Sockets in Networking

In the world of networking, communication is the key to connecting systems, devices, and applications. Whether you’re browsing the web, sending an email, or transferring files, you’re…

Fixing the “Could not find PHP executable” Error in Live Server on VS Code

this is a common issue and easy to fix! This guide will walk you through the step-by-step solution to get your PHP files running in the browser….

How to Fix the “npm.ps1 cannot be loaded” Error on Windows When Running npm start

If you’re a developer working with React or any Node.js-based projects, you may have encountered the following error when trying to run npm start in PowerShell on…

Simplify Database Migrations with kitloong/laravel-migrations-generator in Laravel

Laravel provides a powerful migration system that allows developers to easily define and manage database schema changes. However, when working with legacy databases or large projects, manually…

0 0 votes
Article Rating
Subscribe
Notify of
guest
0 Comments
Oldest
Newest Most Voted
Inline Feedbacks
View all comments
0
Would love your thoughts, please comment.x
()
x